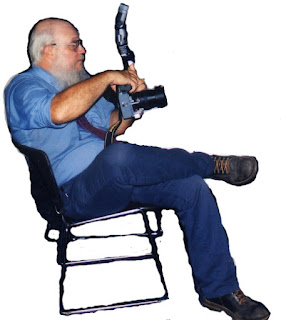


I began today's image with a photograph of a wedding photographer sitting down with his camera at the ready. I scanned in the image as 300dpi and opened it in PhotoPaint. There I cropped the image to focus on the photographer.
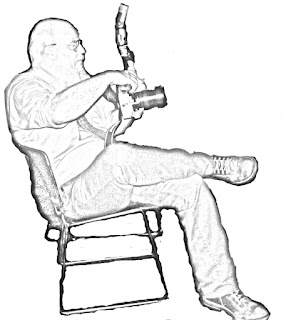
I used the eraser on white to roughly erase all the extraneous photograph and saved that picture as a file. I opened the file in Paint.NET to apply the Pencil Sketch filter to it. What I got was a nice sketch of him with a white background.
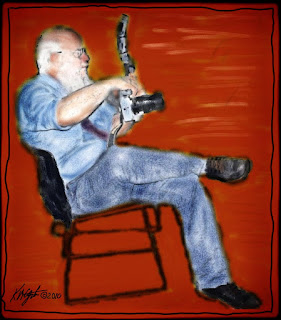
Saving that file I opened it next in Painter 8 and selected the Watercolor Brushes. I used a camel hair brush at varying sizes, and also for the background I used the Digital Watercolor brushes on the beginning layer.
I used two differing colors for the background an ocher and a red, brushing them around and horizontal to the seated photographer.
I reopened in PhotoPaint to create a border to the image and apply Filter Forge's Freepack 3 watercolor frame first. Then I applied a film frame to it as well. To finish it I drew a freehand black line around the image just inside of the outward most frame.
I have shared three images to give the general idea of how this piece progressed.
----------------
Now playing: Bob Dylan - Bob Dylan Three Tunes
via FoxyTunes

No comments:
Post a Comment