 |
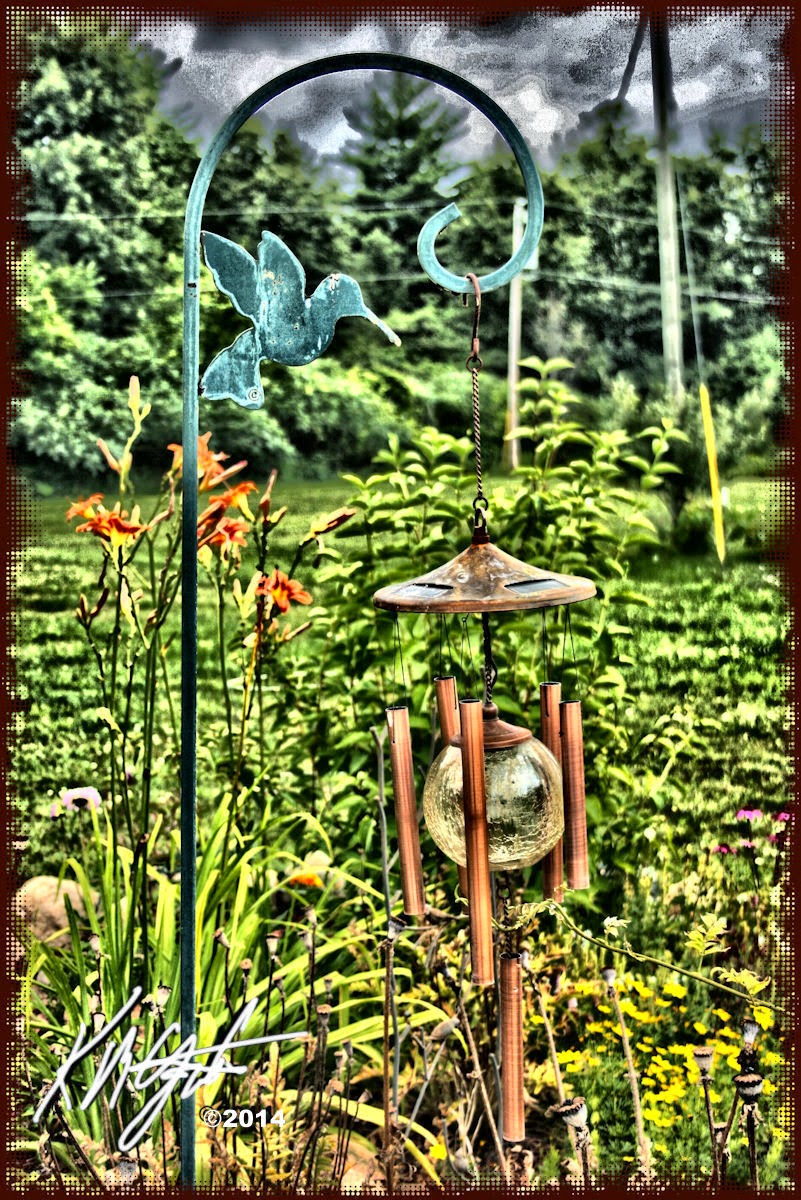
| Hummingbird Hook Globe Chimes |
I have been very busy this past few weeks. I did this image from a
Canon Rebel XTi photograph, taken up North in an area near
Clare, Michigan. I opened the photograph in
Corel PhotoPaint.
I used the Local Equalization tool on it, then applied the Tone Curve, adding depth to the color. I kept my image processing fairly straight forward. I added a Half-Tone frame with
Filter Forge's Frames. I saved the large iteration.
I re-opened the image in
Corel PSP Pro X3. Here I upped the color with a Saturation Vibrancy Boost. I added my signature as a layer in Black and then a layer in White. I saved the file in display size for this post.
I also have done some work musically. I now own a used
Line 6 Pod XT Live for use with my recording. It is primarily a
guitar Pod but I attempted to use the
Gearbox software (from Line 6) with it and used a Clean guitar setting for recording with my
Shure PG58 Mic.
I played and sang the basis of a
DADGAD tune and recorded it with
Audacity. Though I am still having some Latency problems with
Audacity, but have learned a work around for that until I get my settings right. I then recorded, with my
12-String Seagull plugged in, using a setting called Clean Sweep and laid down a lead track.
I re-plugged in my
Shure Mic and did some more vocals in a new track. I adjusted the tracks to match, and Mixed and Rendered to a Stereo file. Saving as a large Wav export and then an MP3 export of a different name.
I shared it with two friends and I have been told it sounded like
a late 1960's style tune. Which I don't mind as I like the period of my roots in guitar playing and singing. I was pretty impressed with the results of my experiment with the
Pod XT Live and Gearbox, recording with the free source
Audacity.


